In today’s digital age, it is becoming increasingly important to sign electronic documents using electronic signatures instead of traditional handwritten signatures on paper.
One challenge that arises is how to convert a paper-based signature into a transparent electronic signature within a Word document.
In this article, we will explore how to achieve this and provide some examples.
Table of Contents
Step 1: Scan the Signature
The first step is to scan or take a photo of the handwritten signature with a black pen on a white piece of paper. A scanner or a high-quality smartphone camera can be used for this purpose. Once the signature is scanned, save it as an image file, such as a PNG or JPEG file.

Step 2: Remove the Background
Next, we need to remove the white background from the scanned signature, so that only the signature remains. One way to do this is to use a photo editing software that has a background removal tool, such as Adobe Photoshop or GIMP or online tool.
Using the tool, select the white area around the signature and delete it, so that only the signature is left on a transparent background. Save the edited signature as a PNG file.

Step 3: Insert the Signature into Word Document
Now, open the Word document where the signature is required, and insert the transparent signature image using the Insert Image tool. Resize and position the signature image as required, and ensure that it is clearly visible.
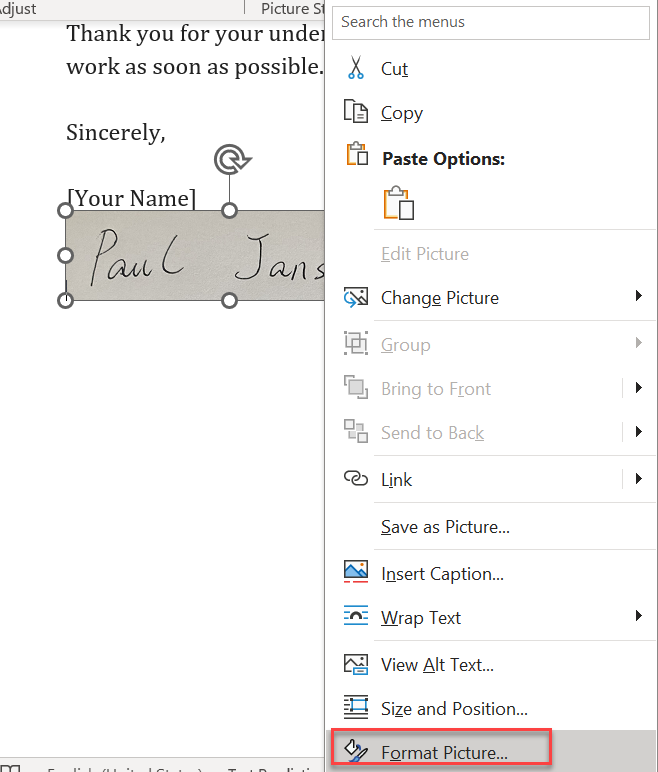
Step 4: Right-click on the picture with your mouse, select ‘format picture’.
See also: Mastering the Linux Command Line — Your Complete Free Training Guide
Step 5: set Sharpness 100%, Brightness 50%, contrast 100%

choose transparent color

Left click the picture with your mouse as below.

Step 6: choose in front of TEXT as below.
Then you can see the signature can be used in Word as below.


Examples
Example 1: Jane needs to sign a contract that was emailed to her by a partner company. She scans her signature, removes the background, and inserts it as a transparent image into the Word document. She then adds a signature with her name, date, and company details, and sends the signed document back to the partner company via email.
Example 2: John runs a small business and needs to sign an invoice that his supplier has sent via email. He follows the same steps as in Example 1 to insert his electronic signature into the Word document and adds a signature block. He saves the signed document as a PDF, and sends it back to the supplier via email, with a confirmation message that the signature is his own and the document is legally binding.
In conclusion, converting a paper-based signature to an electronic signature in Word is a straightforward process that can be achieved using basic photo editing tools and the Insert Image and Insert Table tools in Word.
With electronic signatures becoming more popular and widely accepted, it is important to be familiar with the process and to use it where necessary to ensure legally binding agreements.