Ever feel like Claude code is brilliant but stuck in a box?
It can write amazing code, but it can’t interact with the world outside its own knowledge.
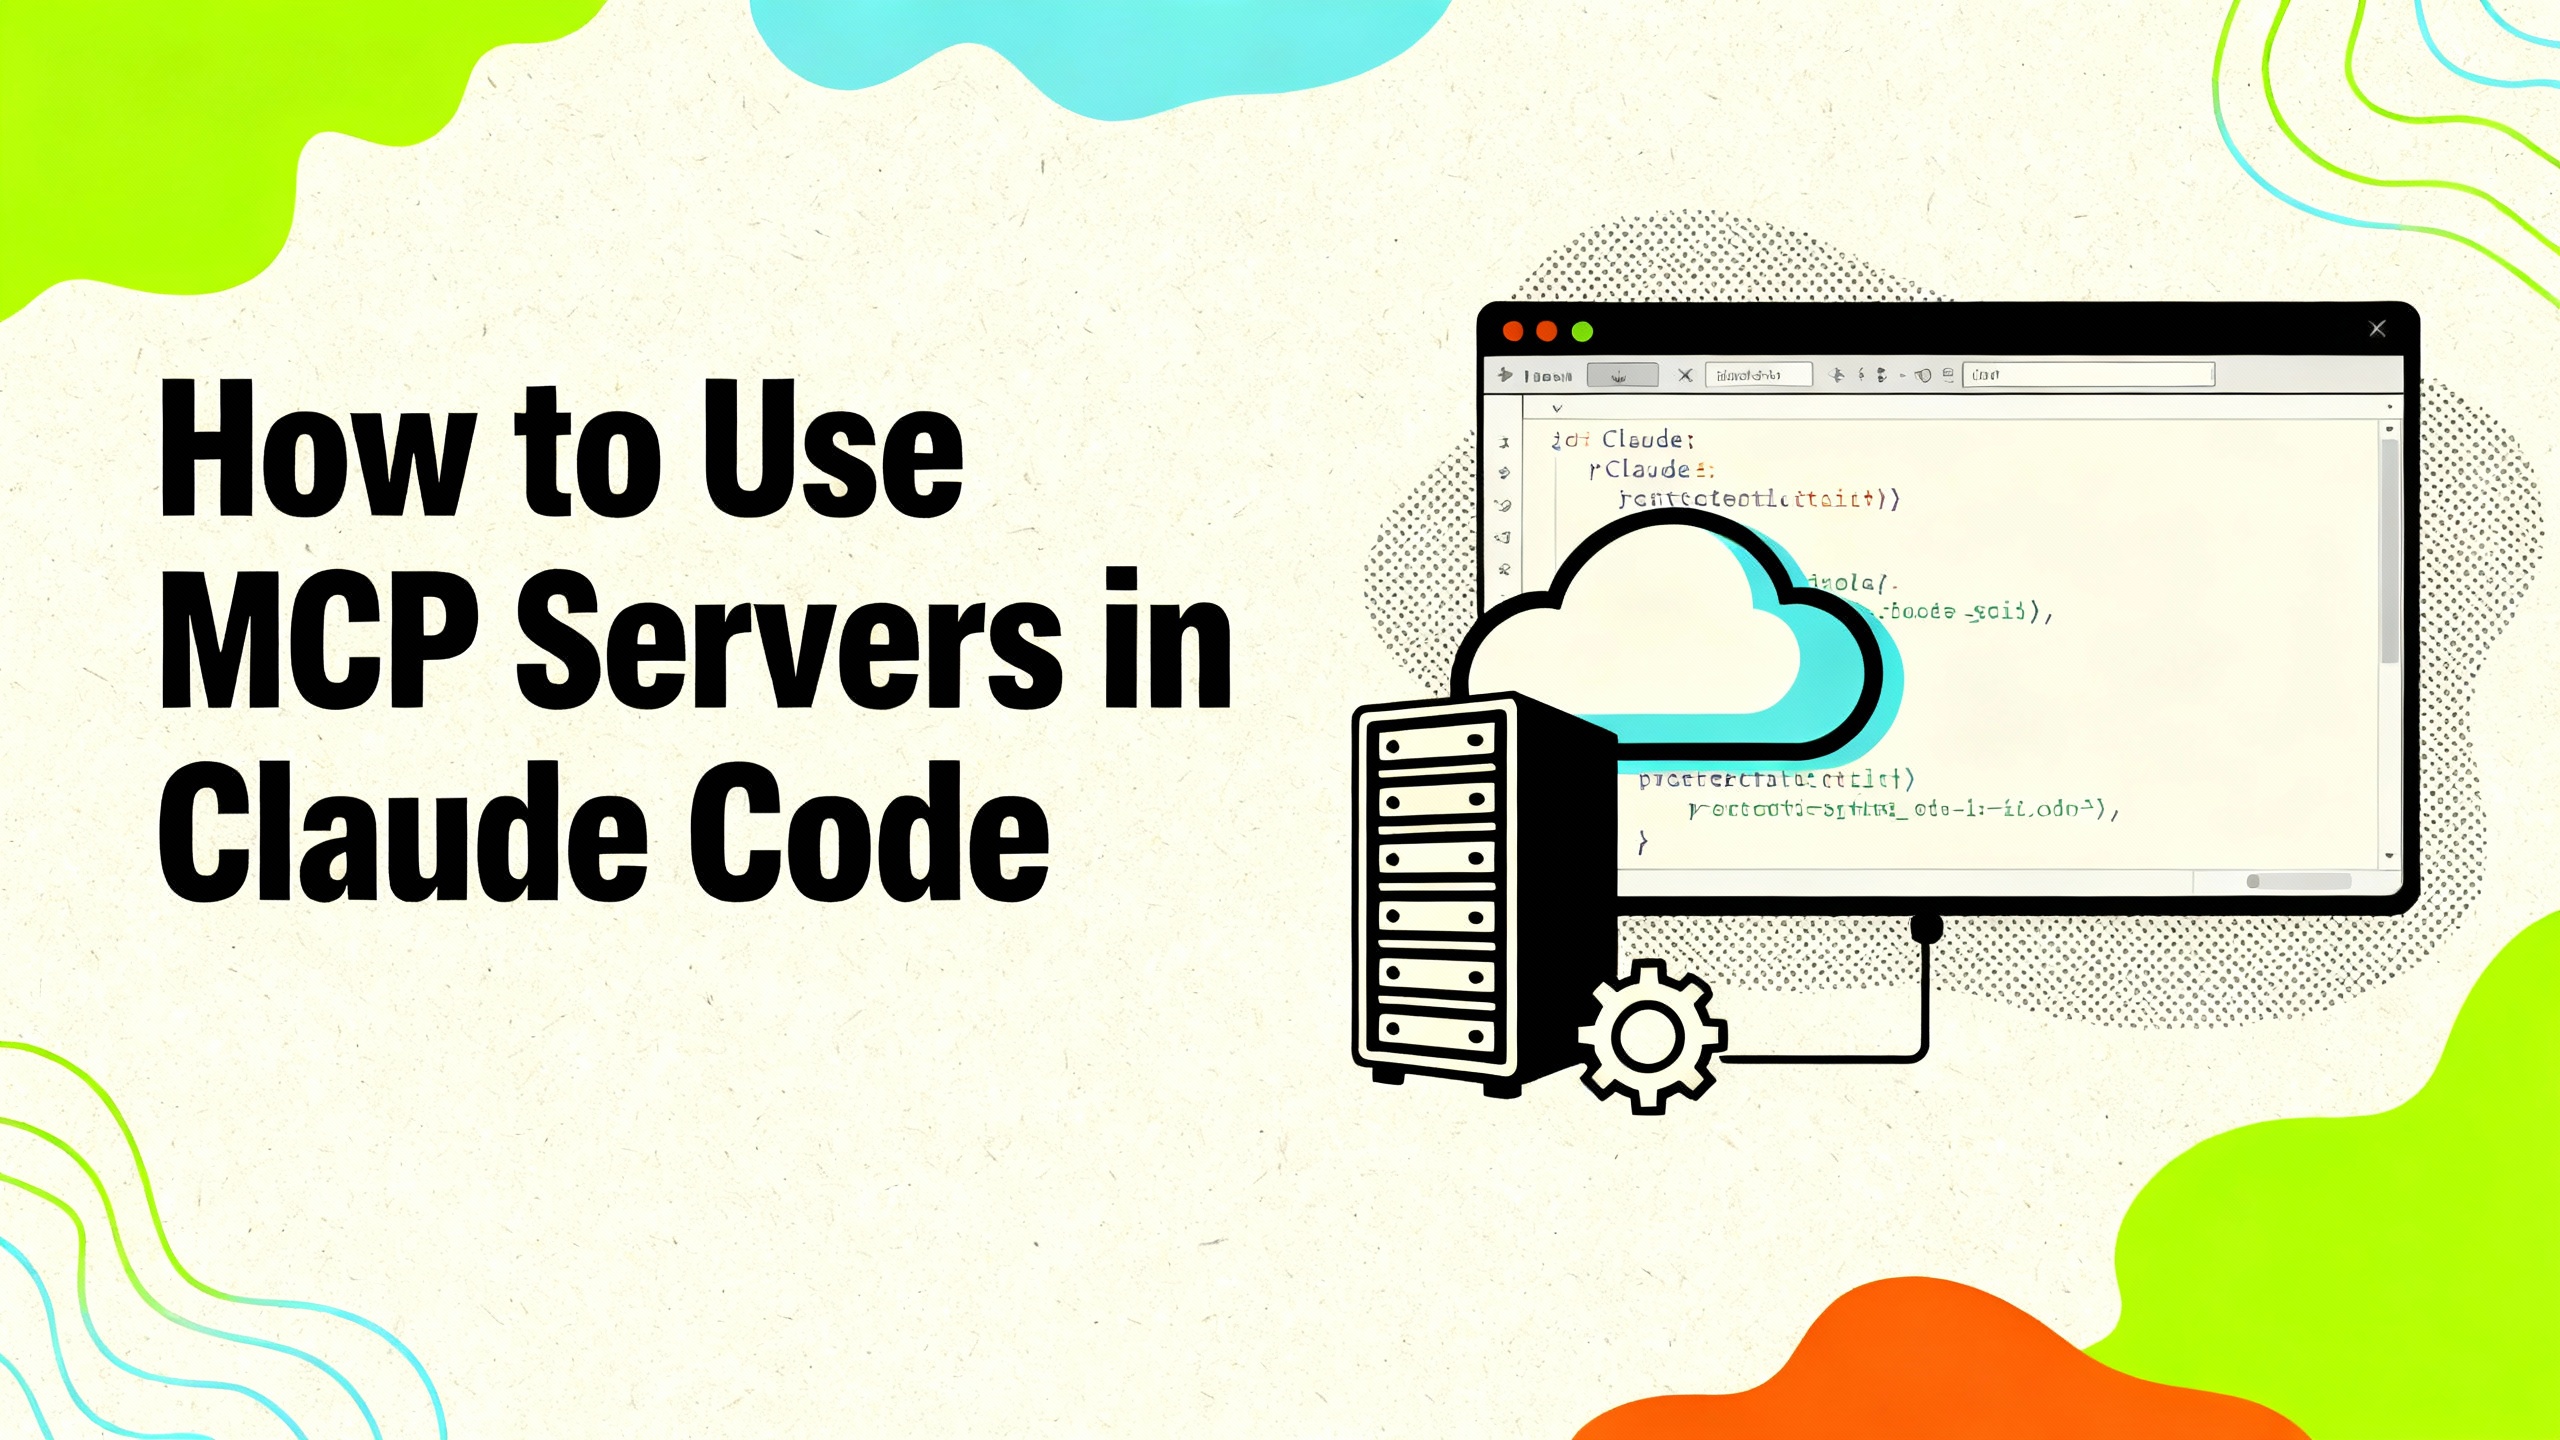
That’s where the Model Context Protocol (MCP) comes in, and it’s a game-changer for developers using Claude Code.
This guide will walk you through how to use MCP servers in Claude Code in a way that’s easy to understand, even if you’re new to the concept.
We’ll break down the technical jargon and show you how to get started with some powerful tools.
Table of Contents
What’s an MCP Server, Anyway?
In simple terms, an MCP server is a bridge between Claude Code and an external tool or data source.
It’s an open standard that allows AI assistants to connect with all sorts of things, from your local file system to complex web services.
Imagine you’re working on a project and you want Claude to read a specific file. Without an MCP server, you’d have to copy and paste the file’s contents.
With a filesystem MCP server, you can just tell Claude, “Read the ‘config.json’ file,” and it will do it. It’s that simple.
Getting Started: Setting Up Your Servers
Adding an MCP server to Claude Code is surprisingly straightforward. It usually involves a single command in your terminal. Let’s look at a few common examples.
See also: Mastering the Linux Command Line — Your Complete Free Training Guide
Listing Your Servers
First things first, you can always see which servers you have configured by running:
claude mcp list
If you’re just starting out, this list will be empty. But not for long!
Adding Servers Interactively
For a guided setup, you can use the interactive command:
claude mcp add
This will walk you through the process of adding a new server.
Let’s Add Some Real Power
Here are a few examples of how to add some of the most useful MCP servers:
- Puppeteer: This server is fantastic for web automation and testing. It allows Claude to control a web browser.
claude mcp add puppeteer -s user -- npx -y @modelcontextprotocol/server-puppeteer - Filesystem: This is a must-have. It gives Claude access to your local files and directories.
claude mcp add filesystem -- npx @modelcontextprotocol/server-filesystem /path/to/your/projectJust replace
/path/to/your/projectwith the actual path to your project folder. - HTTP-based Server: If you have a tool that exposes an API, you can connect to it like this:
claude mcp add --transport http api-server <https://api.example.com/mcp> - Servers with Authentication: Need to connect to a secure API? You can add authentication headers.
claude mcp add secure-api -e Authorization="Bearer your_token_here" -- server-command
Already a Claude Desktop User?
If you’ve been using MCP servers with the Claude Desktop app, you can easily import your existing configuration:
claude mcp add-from-claude-desktop
Putting Your Superpowers to Work: Using MCP Tools
Once you have your servers set up, Claude Code automatically discovers the tools they offer. You can then use these tools with simple, natural language commands.
For example, if you have the GitHub MCP server installed, you can say things like:
claude "Show me GitHub issue #123"claude "Take a full-page screenshot of <https://example.com>"(with the Puppeteer server)claude "Read the Button.tsx component file"(with the filesystem server)
It feels like magic, but it’s just the power of MCP!
You can also use the direct commands for more precise control. To see a list of available commands, you can start an interactive session:
claude
> /
This will show you all the available slash commands, including those from your MCP servers.
A Look at Some Powerful MCP Servers
The ecosystem of MCP servers is constantly growing. Here are a few more that can seriously boost your productivity:
- GitHub Server: Interact with GitHub repositories directly from your terminal. Create issues, review pull requests, and more.
claude mcp add github -- npx @modelcontextprotocol/server-github - SQLite Server: Work with SQLite databases without leaving your command line.
claude mcp add sqlite -- npx @modelcontextprotocol/server-sqlite - AWS Serverless MCP: For those working with AWS Lambda and serverless architectures, this is a powerful addition.
Keeping Things Secure: MCP Tool Permissions
For security, you need to explicitly grant Claude permission to use your MCP tools. You can do this with the --allowedTools flag.
- Allow specific tools:
claude --allowedTools "mcp__filesystem__read_file,mcp__github__list_issues" - Allow all tools from a specific server:
claude --allowedTools "mcp__filesystem__*"
You can also set this in your configuration for a more permanent solution:
claude config set allowedTools "mcp__filesystem__*,mcp__github__get_issue"
When Things Go Wrong: A Little Troubleshooting
Sometimes, things don’t work as expected. If you’re having trouble with your MCP servers, here are a few things to try:
- Debug your connections:
claude --mcp-debug - Check the status of your servers:
claude mcp list - Test a specific server:
claude mcp get github
Common issues to look out for:
- Server not responding: Make sure the server process is running correctly.
- Tool not found: Double-check the exact tool name using the
/command in an interactive session. - Permission denied: Ensure you’ve added the tool to your
allowedToolsconfiguration.
By adding MCP servers to your Claude Code workflow, you can transform your AI assistant from a simple code generator into a powerful and interactive development partner. Give it a try and unlock a whole new level of productivity

This is a fantastic guide! The clear examples and step-by-step setup process make MCP servers feel incredibly powerful and easy to use. Highly recommend for boosting productivity with Claude.