My journey with Linux networking began years ago.At first, I thought learning ifconfig or ip commands would be enough to handle any network configuration.
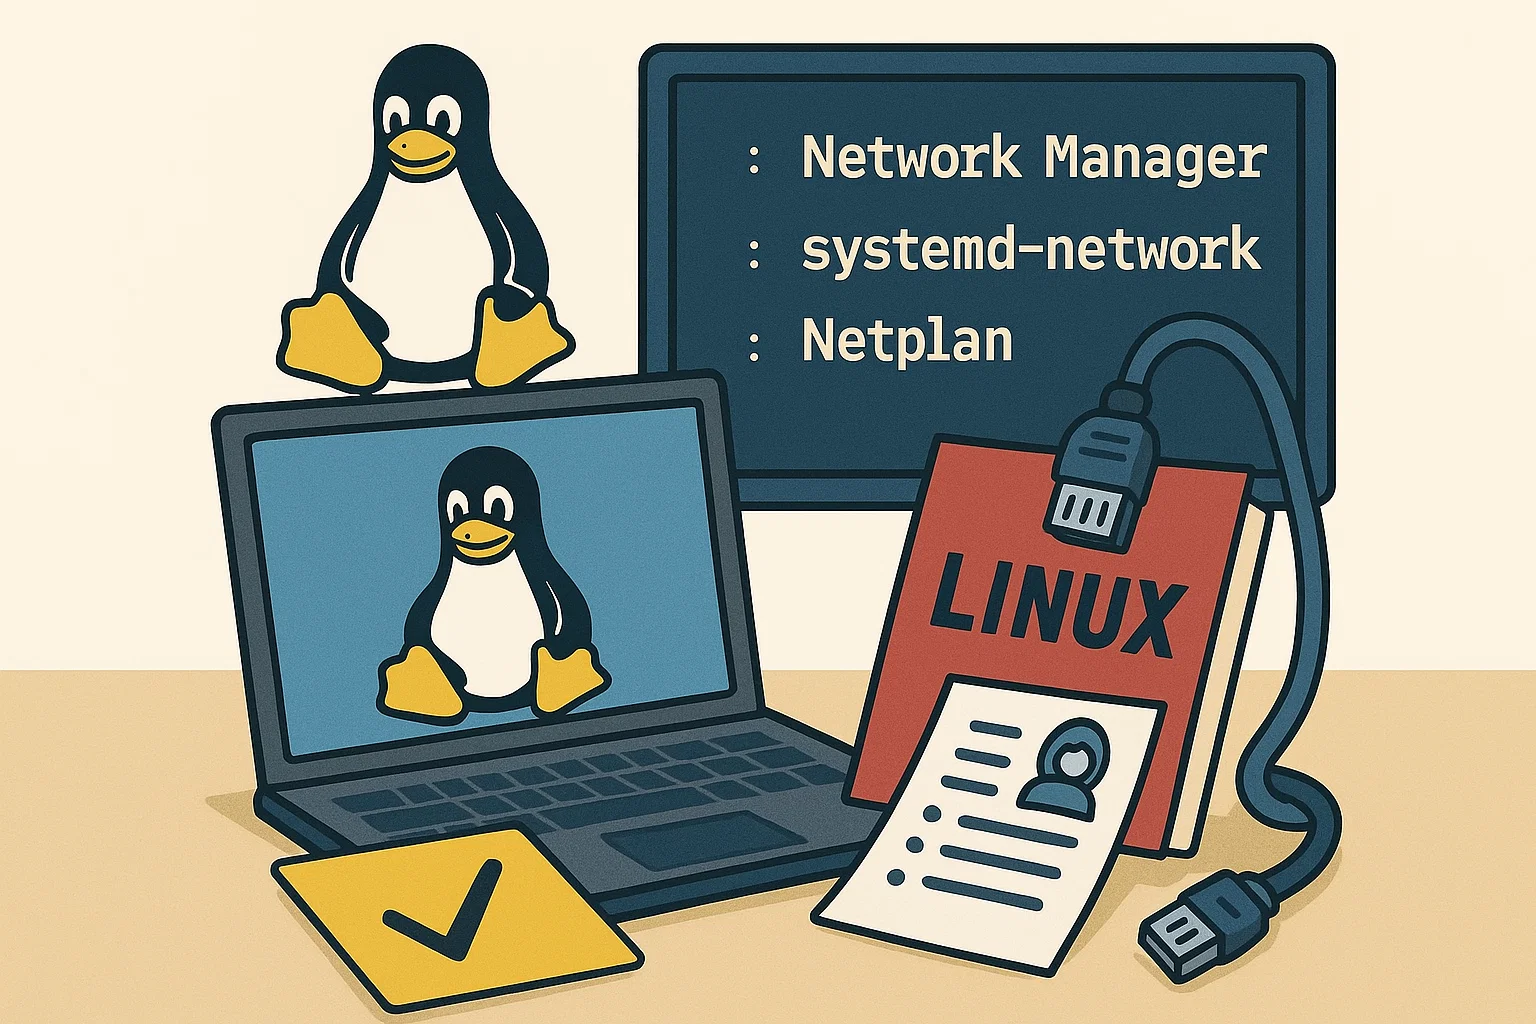
But soon, I ran into a big challenge—different Linux distributions use different tools. Some default to NetworkManager, others rely on systemd-networkd, and on Ubuntu, I encountered Netplan.
The more I worked with different distributions, the more I realized that Linux network management isn’t a one-size-fits-all solution — different tools exist for different use cases.
If you’ve ever felt the same confusion about which tool to use, you’re not alone.
That’s why I wrote this guide. My goal is to break down NetworkManager, systemd-networkd, and Netplan in a way that’s clear, practical, and directly applicable — so that you can make the best choice for your Linux environment.
Whether you’re configuring a local development machine, a cloud-based compute instance, or a large-scale enterprise network, this guide will help you navigate the complexities of Linux networking with confidence.
Table of Contents
NetworkManager: The User-Friendly Choice
Think of NetworkManager as the friendly face of Linux networking. It’s a popular choice, and for good reason.
It’s the default on distributions like Fedora, CentOS Stream, and older versions of Rocky Linux and AlmaLinux. But you can also install it on many others, including Ubuntu and Arch Linux.
What makes it so popular? It’s designed for ease of use, offering both a graphical interface and a powerful command-line tool.
This makes it a great option for both desktop users and those who prefer to work in the terminal.
See also: Mastering the Linux Command Line — Your Complete Free Training Guide
A Peek at the Configuration Files
NetworkManager’s configuration can be found in a couple of key places:
- /etc/NetworkManager/NetworkManager.conf: This is the main configuration file that controls the overall behavior of NetworkManager.
- Connection Profiles: These are individual files for each network connection. Where they live depends on your Linux distribution.
Two Flavors of Configuration: ifcfg and keyfile
On older Red Hat-based systems, you’ll find ifcfg files in /etc/sysconfig/network-scripts/. Here’s a quick look at how you’d set up a static IP address:
DEVICE=eth0
BOOTPROTO=static
ONBOOT=yes
IPADDR=192.168.1.100
PREFIX=24
GATEWAY=192.168.1.1
DNS1=8.8.8.8
For a more modern approach, newer systems like RHEL 9 and Fedora use the keyfile format. These files, ending in .nmconnection, are stored in /etc/NetworkManager/system-connections/. Here’s the same static IP setup in the keyfile format:
[connection]
id=eth0
type=ethernet
autoconnect=true
[ipv4]
method=manual addresses=192.168.1.100/24 gateway=192.168.1.1 dns=8.8.8.8;8.8.4.4;
[ipv6]
method=auto
Making Your Changes Stick
After you’ve edited a configuration file, you need to tell NetworkManager to apply the changes. You can do this with a couple of simple commands:
sudo nmcli connection reload
sudo systemctl restart NetworkManager
systemd-networkd: The Automation Powerhouse
Next up is systemd-networkd, a more recent addition to the Linux networking toolkit. As part of the larger systemd suite, it’s designed to be lean, fast, and perfect for automated or “headless” environments where you don’t have a graphical interface. It’s the default on Arch Linux and modern versions of Ubuntu (17.10 and later).
Configuration Made Simple
With systemd-networkd, you’ll be working with .network files located in /etc/systemd/network/. The naming convention is straightforward, often including a number to set the priority of the configuration.
Here’s an example of a static IP configuration in a file named 05-eth0.network:
[Match]
Name=eth0

[Network]
Address=192.0.2.123/24
Gateway=192.0.2.1
DNS=203.0.113.1 203.0.113.2
The [Match] section tells systemd-networkd which network interface to apply the settings to, in this case, eth0. The [Network] section then defines the IP address, gateway, and DNS servers.
Applying Your New Settings
Once you’ve saved your changes, a quick restart of the service is all it takes to apply them:
sudo systemctl restart systemd-networkd
Netplan: The Ubuntu Abstraction Layer
Now, let’s talk about Netplan, Ubuntu’s modern solution for network configuration. Introduced in Ubuntu 18.04, Netplan isn’t a network management tool in the same way as the others. Instead, it’s an abstraction layer.
Think of it like this: you create a simple, easy-to-read YAML file that describes your desired network setup. Netplan then takes that file and generates the necessary configuration for either systemd-networkd or NetworkManager behind the scenes. This gives you a consistent way to configure your network, regardless of the underlying tool.
The Simplicity of YAML
Netplan’s configuration files live in /etc/netplan/ and use the .yaml extension. YAML is known for being human-readable, which can make network configuration a lot less intimidating.
Here’s a basic Netplan configuration for a wired connection using DHCP:
network:
  version: 2
  renderer: networkd
  ethernets:
    eth0:
      dhcp4: yes
To set a static IP address, you would modify the ethernets section like this:
network:
  version: 2
  renderer: networkd
  ethernets:
    eth0:
      addresses:
        - 192.0.2.17/24
      routes:
        - to: default
          via: 192.0.2.1
      nameservers:
        addresses: [8.8.8.8, 8.8.4.4]
Putting it all into action
With Netplan, applying your changes is a two-step process. First, you generate the backend configuration, and then you apply it:
sudo netplan generate
sudo netplan apply
Can NetworkManager and systemd-networkd Coexist?
While it’s technically possible for both to be active at the same time, it’s generally not recommended as they can conflict with each other. To avoid any issues, it’s best to disable the one you’re not using.
To stick with NetworkManager, you can disable systemd-networkd with this command:
sudo systemctl disable --now systemd-networkd
And if you prefer systemd-networkd, you can disable NetworkManager like this:
sudo systemctl disable --now NetworkManager
Making the Right Choice for You
So, with these three powerful tools at your disposal, how do you decide which one to use? Here’s a quick breakdown to help you choose:
- NetworkManager is your go-to if you’re on a Red Hat-based system or if you prefer a user-friendly tool with both graphical and command-line options.
- systemd-networkd is the ideal choice for server environments, especially on Arch or modern Ubuntu systems, where a lightweight, automated approach is key.
- Netplan shines on Ubuntu 18.04 and newer, offering a simplified and declarative way to manage your network configuration through easy-to-understand YAML files.
Final Thoughts
The world of Linux networking doesn’t have to be a confusing maze. By understanding the strengths of NetworkManager, systemd-networkd, and Netplan, you can take control of your network configurations with confidence. Each tool has its place, and the “right” one really depends on your specific needs and the Linux distribution you’re working with.
I hope this guide has helped to shed some light on these powerful tools and that you feel more prepared to tackle your next networking challenge. Happy configuring.


I appreciate you sharing this blog post. Thanks Again. Cool.