Networking is a foundational skill for any Linux administrator, developer, or aspiring IT professional.
For those working with Ubuntu, a deep understanding of its command-line networking tools is not just beneficial but often a prerequisite.
This expanded article will delve into 10 key networking commands, providing more detail, practical use cases, and insights into how they might be discussed in an interview setting.
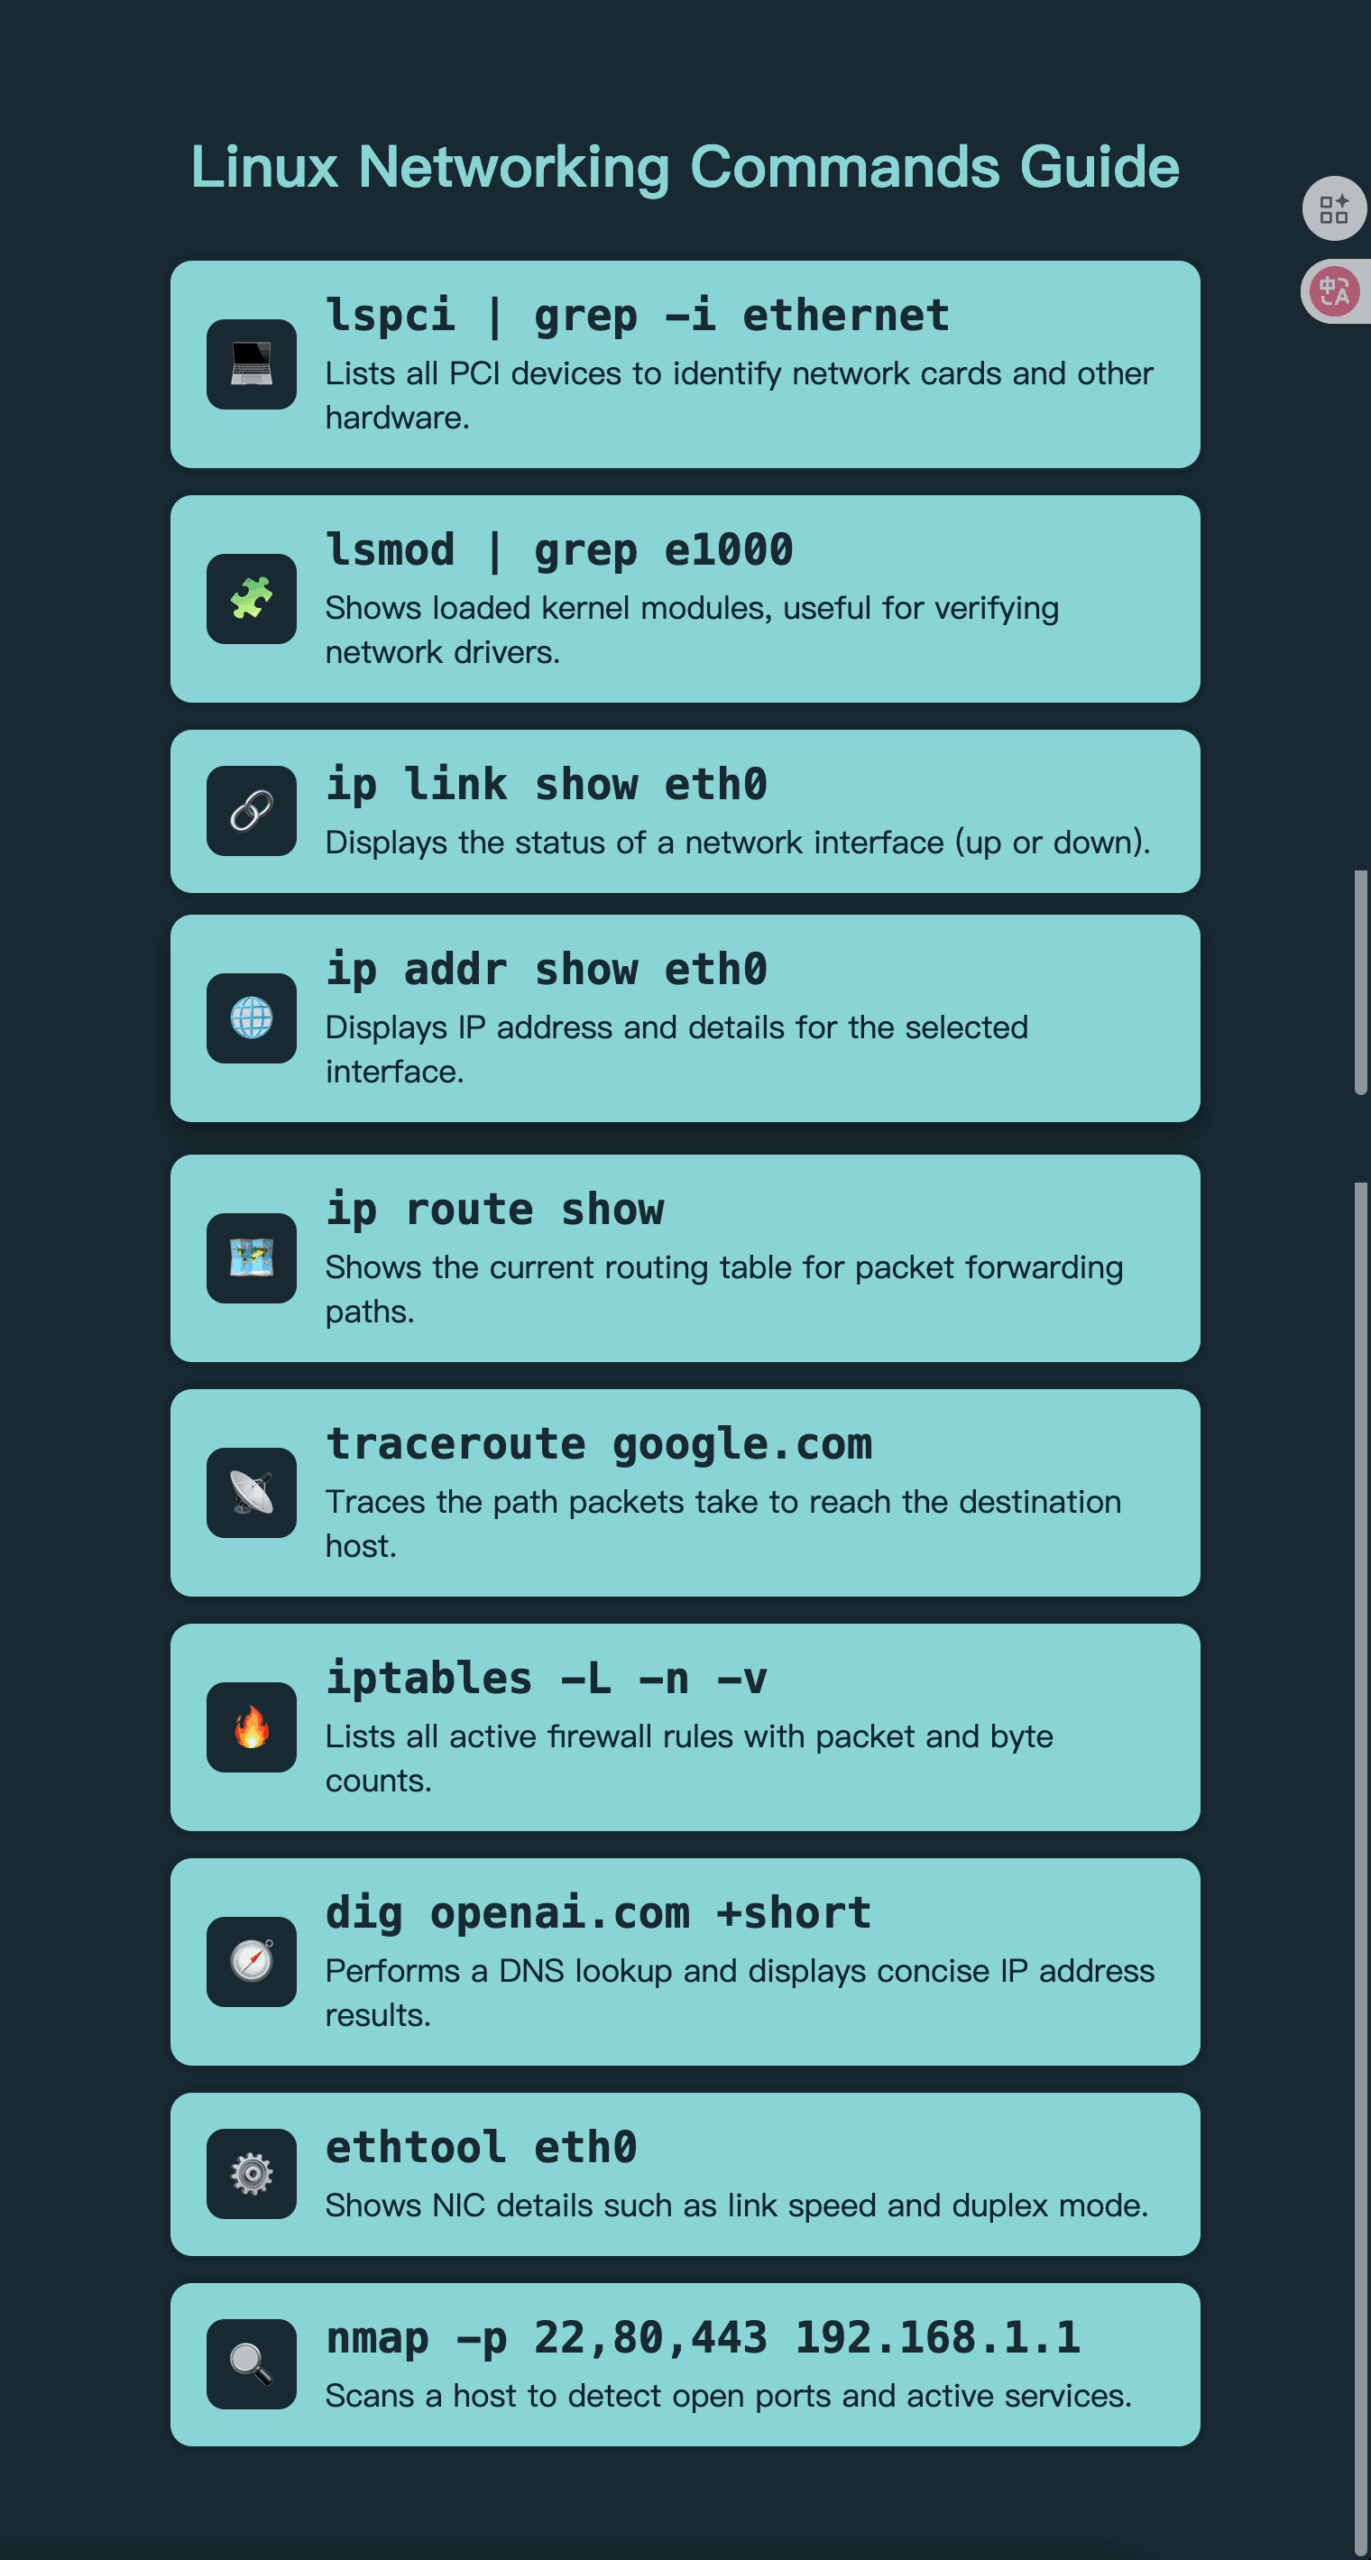
Table of Contents
1. lspci – Unveiling Your Hardware (PCI Devices)
Purpose: Lists all PCI (Peripheral Component Interconnect) devices connected to your system. While not exclusively a networking command, it’s crucial for hardware identification, especially network interface cards (NICs).
Detailed Use: When troubleshooting network issues, the first step is often to confirm the presence and model of your network adapter. lspci helps you do this. You can combine it with grep to filter for specific keywords.
Examples:
- List all PCI devices:
lspci - Find Ethernet controllers:
lspci | grep -i ethernet - Find Wi-Fi adapters:
lspci | grep -i wireless
Interview Tip: Be prepared to explain how you’d verify if a network card is detected by the system. Mentioning lspci to identify the hardware, then potentially lsmod to check for the driver, shows a systematic approach.
2. lsmod – Kernel Module Insight
Purpose: Shows the status of all currently loaded kernel modules in the Linux kernel.
Detailed Use: Network device drivers are typically loaded as kernel modules. If a network interface isn’t functioning, you might check if its corresponding module is loaded. It also helps in understanding which protocols or features (like firewall modules) are active.
Examples:
See also: Mastering the Linux Command Line — Your Complete Free Training Guide
- List all loaded modules:
lsmod - Check for a specific network driver module (e.g.,
e1000efor Intel NICs):lsmod | grep e1000e - Check for general networking modules:
lsmod | grep net
Interview Tip: An interviewer might ask, “How would you confirm if a network driver is loaded?” Your answer should include lsmod to check the module and possibly dmesg to look for kernel messages during boot related to the driver.
3. ip link – Network Device Status and Configuration
Purpose: A modern and versatile command for listing all available network devices, along with their current status and configuration parameters. It’s part of the iproute2 suite, which largely supersedes older tools like ifconfig.
Detailed Use: This command provides a quick overview of your network interfaces, including their state (UP/DOWN), MAC address, MTU (Maximum Transmission Unit), and queue length. It’s excellent for initial network diagnostics.
Examples:
- List all links (interfaces):
ip link show - Display only UP interfaces:
ip link show up - Bring an interface UP (requires root):
sudo ip link set eth0 up - Bring an interface DOWN (requires root):
sudo ip link set eth0 down
Interview Tip: This is a crucial command. Interviewers often ask about the modern way to manage network interfaces. Emphasize ip link and ip addr over ifconfig for modern Linux systems.
4. ip addr – IP Address Configuration
Purpose: Displays IP addresses assigned to each network device, along with other essential details like broadcast addresses, subnet masks, and scope (e.g., global, link, host). Also part of the iproute2 suite.
Detailed Use: This is your primary command for verifying your system’s IP configuration. You’ll use it to check if an interface has an IP address, if it’s correct, and to see subnet details.
Examples:
- Show all IP addresses:
ip addr showorip a - Show IP addresses for a specific interface (e.g.,
enp0s3oreth0):ip addr show enp0s3 - Add an IP address (requires root):
sudo ip addr add 192.168.1.10/24 dev eth0 - Delete an IP address (requires root):
sudo ip addr del 192.168.1.10/24 dev eth0
Interview Tip: Expect questions like, “How do you check your machine’s IP address?” or “How would you assign a static IP address temporarily?” Knowing ip addr show and the add/del subcommands is key.
5. ip route – The Routing Table
Purpose: Displays the kernel’s routing table entries, showing how your system directs network traffic to various destinations. Also part of the iproute2 suite.
Detailed Use: The routing table is fundamental to network connectivity. This command helps you understand where packets are sent (e.g., local subnet, default gateway) and which interface they use. Essential for diagnosing “can’t reach X but can reach Y” scenarios.
Examples:
- Show the main routing table:
ip route showorip r - Add a static route (requires root):
sudo ip route add 192.168.2.0/24 via 192.168.1.1 dev eth0 - Delete a route (requires root):
sudo ip route del 192.168.2.0/24 - Change the default gateway (requires root):
sudo ip route change default via 192.168.1.1
Interview Tip: “How does your machine know where to send packets outside its local network?” The answer involves the default gateway and the routing table, which ip route displays. Be ready to interpret output, especially the default via line.
6. traceroute – Mapping the Network Path
Purpose: Lists all the routers (hops) that packets traverse between your local host and a remote host.
Detailed Use: Indispensable for diagnosing network connectivity issues beyond your local network. It helps identify exactly where connectivity breaks down, or where latency is introduced. It sends packets (usually UDP by default, but can use ICMP or TCP) with increasing TTL (Time To Live) values.
Examples:
- Trace the route to a website:
traceroute google.com - Trace using ICMP (like Windows
tracert):traceroute -I google.com - Trace to an IP address:
traceroute 8.8.8.8
Interview Tip: “You can’t reach a remote server. What’s the first thing you’d do after confirming local network connectivity?” ping and traceroute are common answers. Explain what the * in traceroute output signifies (packet loss or firewall blocking ICMP/UDP on that hop).
7. iptables – Firewall Management
Purpose: An administration tool for configuring the Linux kernel firewall (Netfilter). It allows you to set up rules for packet filtering, Network Address Translation (NAT), and connection tracking.
Detailed Use: iptables is used to define rules that control inbound, outbound, and forwarded network traffic. It’s a critical component for securing a Linux server. While often abstracted by higher-level tools like ufw (Uncomplicated Firewall) on Ubuntu, understanding iptables fundamentals is valuable.
Examples:
- List all current rules:
sudo iptables -L -v -n - Allow incoming SSH (port 22):
sudo iptables -A INPUT -p tcp --dport 22 -j ACCEPT - Drop all other incoming traffic:
sudo iptables -A INPUT -j DROP - Flush all rules:
sudo iptables -F
Interview Tip: “How do you secure network access to your server?” Mentioning iptables or ufw is good. For iptables, understanding the concepts of CHAINS (INPUT, OUTPUT, FORWARD) and ACTIONS (ACCEPT, DROP, REJECT) is key.
8. dig – DNS Lookup Utility
Purpose: A powerful and flexible command-line tool for querying DNS (Domain Name System) name servers to retrieve information about host addresses, mail exchanges, and other DNS records.
Detailed Use: dig is indispensable for diagnosing DNS resolution problems. You can use it to verify A records (IP address), MX records (mail servers), NS records (name servers), and more. It gives raw DNS responses, which are incredibly helpful for debugging.
Examples:
- Standard lookup:
dig example.com - Query for MX records:
dig example.com MX - Query a specific name server:
dig @8.8.8.8 example.com - Short answer:
dig +short example.com
Interview Tip: “How would you troubleshoot a website that’s unreachable, but you can ping its IP address?” This points directly to a DNS issue, where dig would be your primary tool. Explain what an A record is and how dig helps confirm it.
9. ethtool – Network Driver and Hardware Control
Purpose: Queries and controls network driver settings and hardware settings of Ethernet devices.
Detailed Use: ethtool allows you to inspect and modify low-level parameters of your network card. This includes checking the link status, speed, duplex settings, auto-negotiation, Wake-on-LAN (WoL) status, and even updating firmware or enabling/disabling offloading features.
Examples:
- Show device information:
ethtool eth0 - Check link status only:
ethtool eth0 | grep "Link detected" - Set link speed and duplex (requires root, often undesirable due to auto-negotiation):
sudo ethtool -s eth0 speed 100 duplex full - Enable Wake-on-LAN:
sudo ethtool -s eth0 wol g
Interview Tip: “Your network card is only connecting at 100Mbps when it should be 1Gbps. How would you investigate?” ethtool is the answer for checking the current link speed and duplex.
10. route – Views or Edits the IP Routing Table (Legacy)
Purpose: A command for viewing and manipulating the IP routing table. While still present and functional, ip route from the iproute2 suite is the modern, preferred alternative.
Detailed Use: Historically, route was the standard tool for managing static routes and the default gateway. You might still encounter it in older systems or scripts. It provides a more condensed output compared to ip route.
Examples:
- Show the routing table:
route -n(numeric output) - Add a default gateway:
sudo route add default gw 192.168.1.1 - Delete a route:
sudo route del -net 192.168.2.0 netmask 255.255.255.0
Interview Tip: “You mentioned ip route. Are there any other commands for routing?” This is where route comes in. Acknowledge its existence but state your preference for ip route as the more modern and powerful tool.
Bonus Commands (Still Important!)
telnet: Once used for remote terminal sessions,telnetis now primarily a quick diagnostic tool to check if a remote port is open and listening.- Example:
telnet example.com 80(checks if port 80 is open)
- Example:
Nmap: A powerful network mapping and security auditing tool. It can discover hosts, services, operating systems, and vulnerabilities on a network.- Example:
nmap 192.168.1.1/24(scan a local subnet) - Example:
nmap -p 22,80,443 example.com(scan specific ports)
- Example:
netstat: Displays network connections, routing tables, interface statistics, masquerade connections, and more. While largely superseded byipandss(socket statistics) for modern Linux, it’s still widely known and used.- Example:
netstat -tulnp(list TCP/UDP listening ports with process info)
- Example:
ifdownandifup: Used to start or stop network interfaces based on configuration in/etc/network/interfaces. They are similar toifconfig downorifconfig upbut tie into the system’s network configuration.- Example:
sudo ifdown eth0 - Example:
sudo ifup eth0
- Example:
Conclusion
A strong grasp of these Ubuntu networking commands is indispensable for any technical role involving Linux.
Not only will they prepare you for challenging interview questions, but they will also empower you to efficiently diagnose, configure, and manage network connectivity in your day-to-day operations.
Practice regularly, understand the output, and be ready to explain the “why” behind each command’s usage.


